Area Clearance Toolpath Cutting Perimeter First
Carveco Maker+
Version: 1.61
Build: 2025-08-29-1429-ffdbe91
Hi
I’m working on a carve where I need to break it up into different Area Clearance toolpaths to clear some tricky areas, and I need the toolpath to cut all the way through the material. I’ve set the Tool Clearance Strategy to Offset and checked the box for the start point to be on the inside.
However, when it calculates, the toolpath begins by cutting a profile around the perimeter of the area to be cleared. That causes a small but significant piece to cut free while the bit is still moving, which risks jamming the CNC, losing position, and breaking bits.
How can I ensure that the Area Clearance toolpath actually starts from the inside of the shape and works its way outward, instead of cutting the perimeter first? I haven’t had this issue before, so I’m wondering if I’m missing a setting.
I've watched the Area Clearance Toolpath video.
Thanks for all the help in the past and future
Lonnie
Comments
Lonnie,
How are you holding down your material? the chunk that breaks free, is it part of what you want to keep? I'm not near my PC right now so I can verify the question that I want to ask, so pardon if I'm off. Does the toolpath depends a lot on the sequence of you choosing which vector first, if it does change that, again sorry if this is a stupid question.
Mike
No, the part that breaks free is waste. Normally, I clear the whole shape with an Area Clearance toolpath. It would start in the center of the shape and work outward before each step down. It would repeat until the area is fully cleared. This takes a bit longer but is cleaner and safer.
What’s happening now is that it cuts essentially a profile cut all the way through the material first, then goes to the center to do the Area Clearance.
It did not always perform this way. It might have broken the shape up into two parts, but it always cleared the shape or shapes one stepdown at a time starting from the center
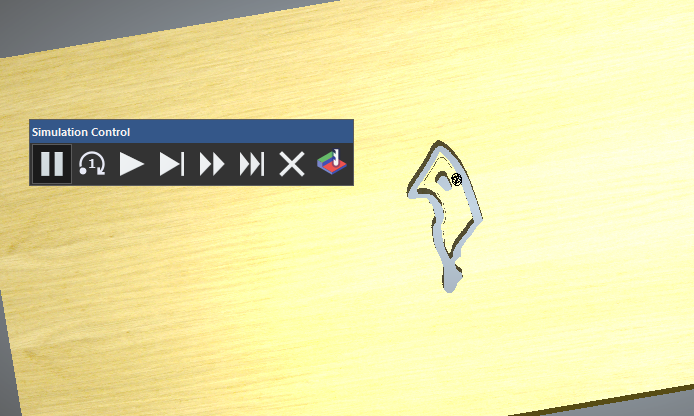
Here is a video of it. I stopped the recording shortly after it moved to the center of the shape. If I had let it finish, the whole shape would have been gone.
https://www.dropbox.com/scl/fi/7p02bl8qf1g74oggnyvzo/Recording-2025-09-09-Area-Clearance-Toolpath.mp4?rlkey=7grupglsw39vfo60snva83d75&st=jrhrolrq&dl=0
Would not a "Machine relief" toolpath work better?
I sometimes use the area clear but not much, I prefer the relief toolpath, mainly because I have so many other things going on, it's easy you just set it and do other things. If I need sharp bottom edges then it's the area clear, but it isn't much. If I need to cut out areas inside the wood then I'd run a profile toolpath after the relief toolpath was done. Though with a lot of people running the area clearance toolpath I might need to find out why, maybe I need to looking at other tools more. With the profile toolpath you can always add tabs if you need them or like I do cut all but .010" of it.
mike
Thanks for the input. Just to clarify, I’m not actually creating any profile toolpaths — the Area Clearance toolpath itself is generating one for some reason, even though I’ve checked the option to start on the inside.
I appreciate the suggestion, and I used to do it that way, but I’ve since added to the project. After the initial prep, I take it off the CNC to do some work with hand tools, then put it back on for the rest of the carve.
This hasn’t been an issue for me in the past, which is why I’m trying to figure out what changed.
It's cool watching area clear, the reason it looks like it does a profile is when it bounces against a wall is the end mill might flex, does so it goes around the wall to clean up the divots it makes, it makes a real nice clean wall. If you don't want it to cut all the way through set the depth shallower than the full depth.
mike
Please sign in to leave a comment.