Answered
Moving the z plane?
Hello, I'm a new user, so please forgive me if I'm doing something incorrectly here...
When I import a particular image at z height of 5mm, the result is a 5mm depth intaglio model rather than a relief.
Is that because of the light effect of the image?
I can then invert the model to -5mm depth to convert the intaglio to a relief, however the z plane is moved downwards. I am then unable to vector > create > relief boundary because the minimum height isn't where I want it.
Can I raise the z plane to zero height with the model in situ? Or do I need to address how the image is imported?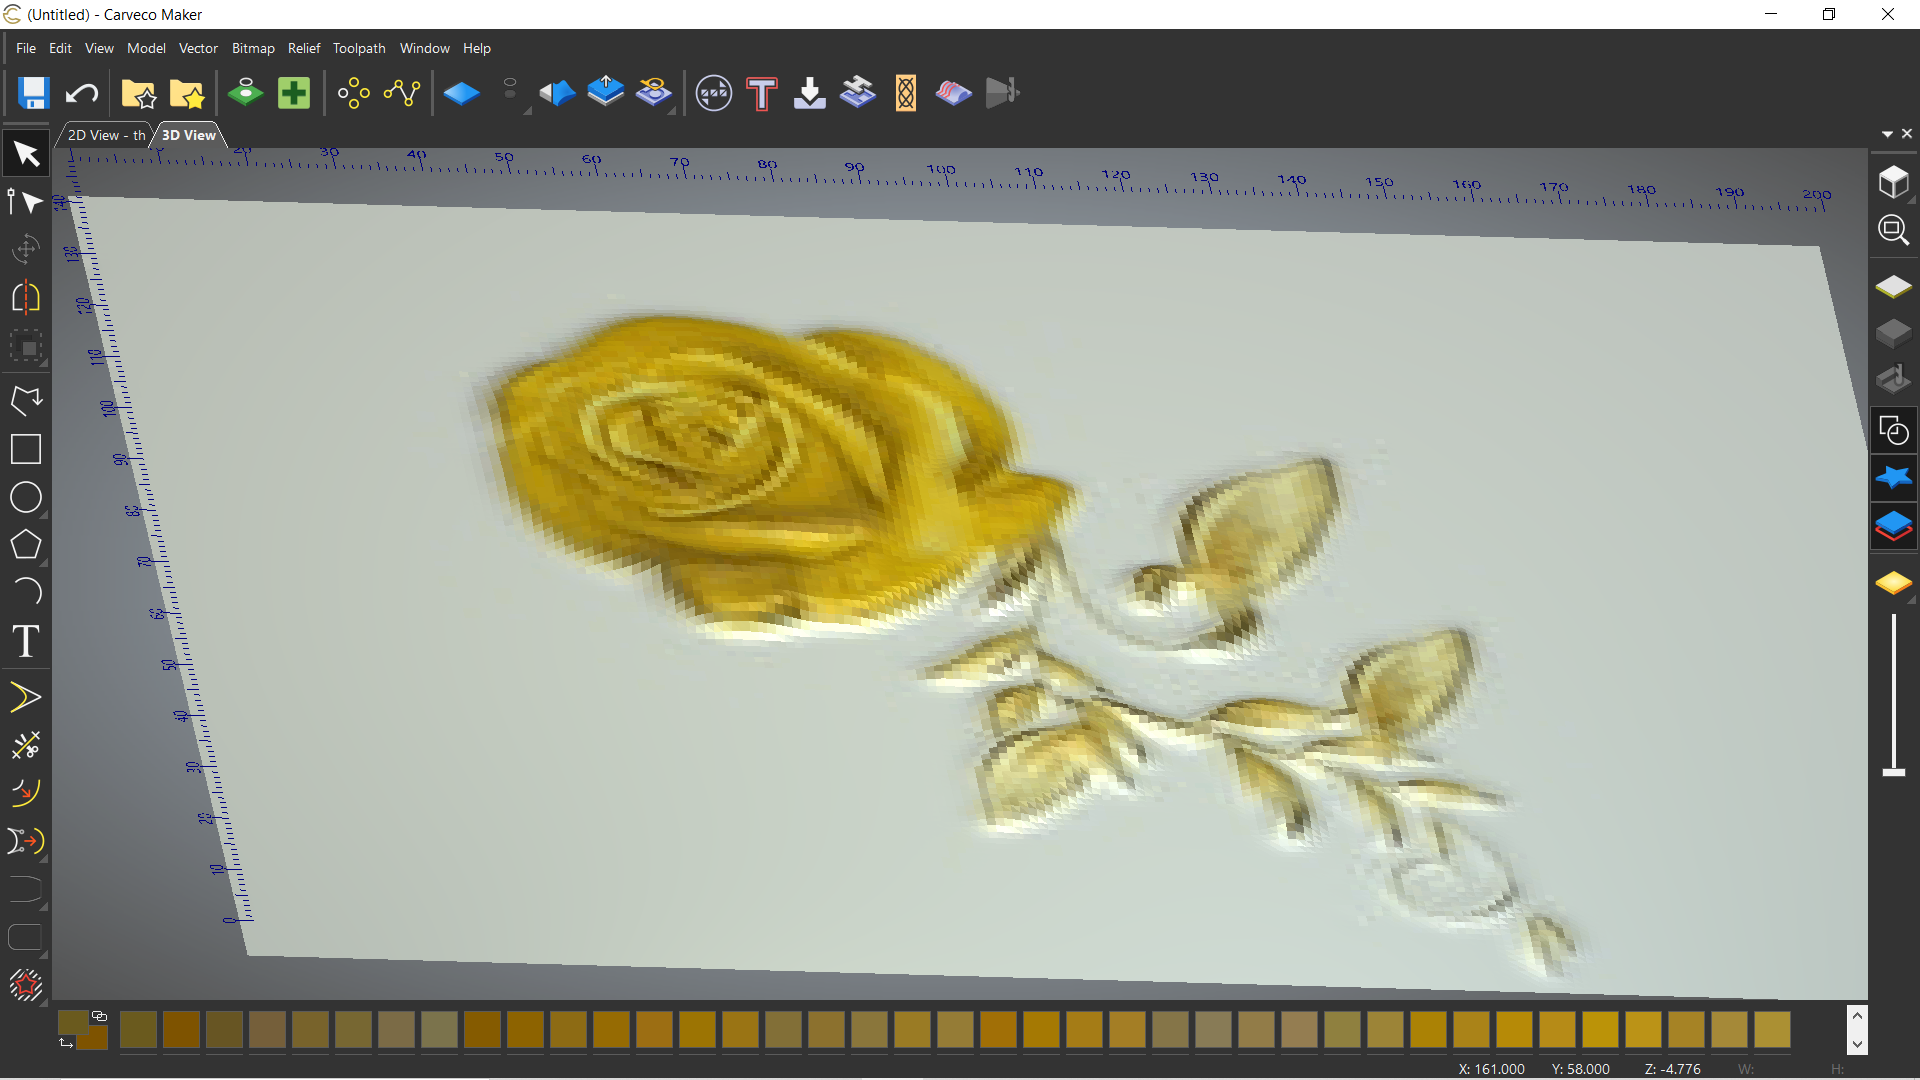
Thanks,
Dave
Comments
I hate to show my ignorance but I am going to to possibly help you..... Okay what you are talking here is when you import a picture you would like to have a relief (right?) instead you're getting not a relief but a painted glob, right?
If I said is right, I have the full version of carveco so, me, I'll import the photo, draw vectors (lines) around everything that I want to (or Have Too) model, to give it a particular shape then I use various tool available in carveco to get those shapes.
Sometimes I get lucky and the software will give me something I can use, most of the time though I like to give a specific look to the artwork.
mike
Thanks Mike, I'll try to explain better...
This image I have relief imported at z height 5mm is ok, the result is the relief I wanted.
however, this image relief imported is opposite to relief (intaglio) with a z depth of 5mm, pasting to the model will produce an incised engraving.
This is an image that when relief imported gives the opposite to relief result.
So I'd like to understand why some images give the opposite result to what I was expecting and can I control a relief import to either be relief or intaglio?
Thanks,
Dave
Okay, David sorry I get a little thick, this is a piece of cake to fix or rather adjust when you have the blue relief ready to paste in looking at the tool options you have a blue star in the upper rt corner that will give you the options to paste in the add, merge high, subtract, replace and the last option merge low (for you, you might have a subtract or this particular model might be this way in it's design) so you might try to add, paste the baby in then if you'll tack a look at the Icons you have one that says to invert use it to change the model (once pasted) to the positive, after doing that there are a few fixes that you may need to do, like zeroing out a few areas, time to look and play,.....also (for me) the option to paste a outline vector is always a good choice.
Hope this helps fix
mike
You say you are importing images and that some imports work and some do not. Could you expand on this and provide pictures of the imports that work and ones that do not? That is the images before they are brought into Carveco, not the results in Carvevo whether positive or negative. We may be able to identify exactly what is going on with this additional information.
Hi Barry and thanks Mike,
I think this is to do with the background colour, both these white background images produce an intaglio effect:
however, this image crudely edited to have a black background imports as the desired relief:
As Mike suggested, a work around is pasting the white background image intaglio effect and then inverting to produce a relief.
So, thanks both for your input.
Dave
Dave,
You might find getting the full version of carveco, I know it's a little spendy but there is so much more you can do with it. You don't have to rely on other software, or the photo being just right, or having to purchase files (though some are good, some times they just will not do), you can make the model your self (my favorite) to fit what you want done, though it'll take a bit of practice to do a lot of thing but there really isn't anything you will not be able to do. You should see what I have been able to do, it just blows some peoples brains, it's just fun to show, hahahaha.
mike
Dave, you are exactly correct as to the source of the problem. Considering that pure white is max Z in Carveco everything that is not pure white will be below the zero plane. Either the workaround as suggested by Mike or using a graphics program like PhotoShop or one of the many free graphics editors to change your background from white to black will solve your issue.
Thanks for the explanation Barry, that could prove useful for future chip carving projects.
Please sign in to leave a comment.