Relief import not correct
I am new to Carveco and although I bought during the introductory offer I have never used the software (Fusion 360 has been my go-to CAD/CAM package). But now I have a need to do some 3D work and that's the reason I bought Carveco in the first place.
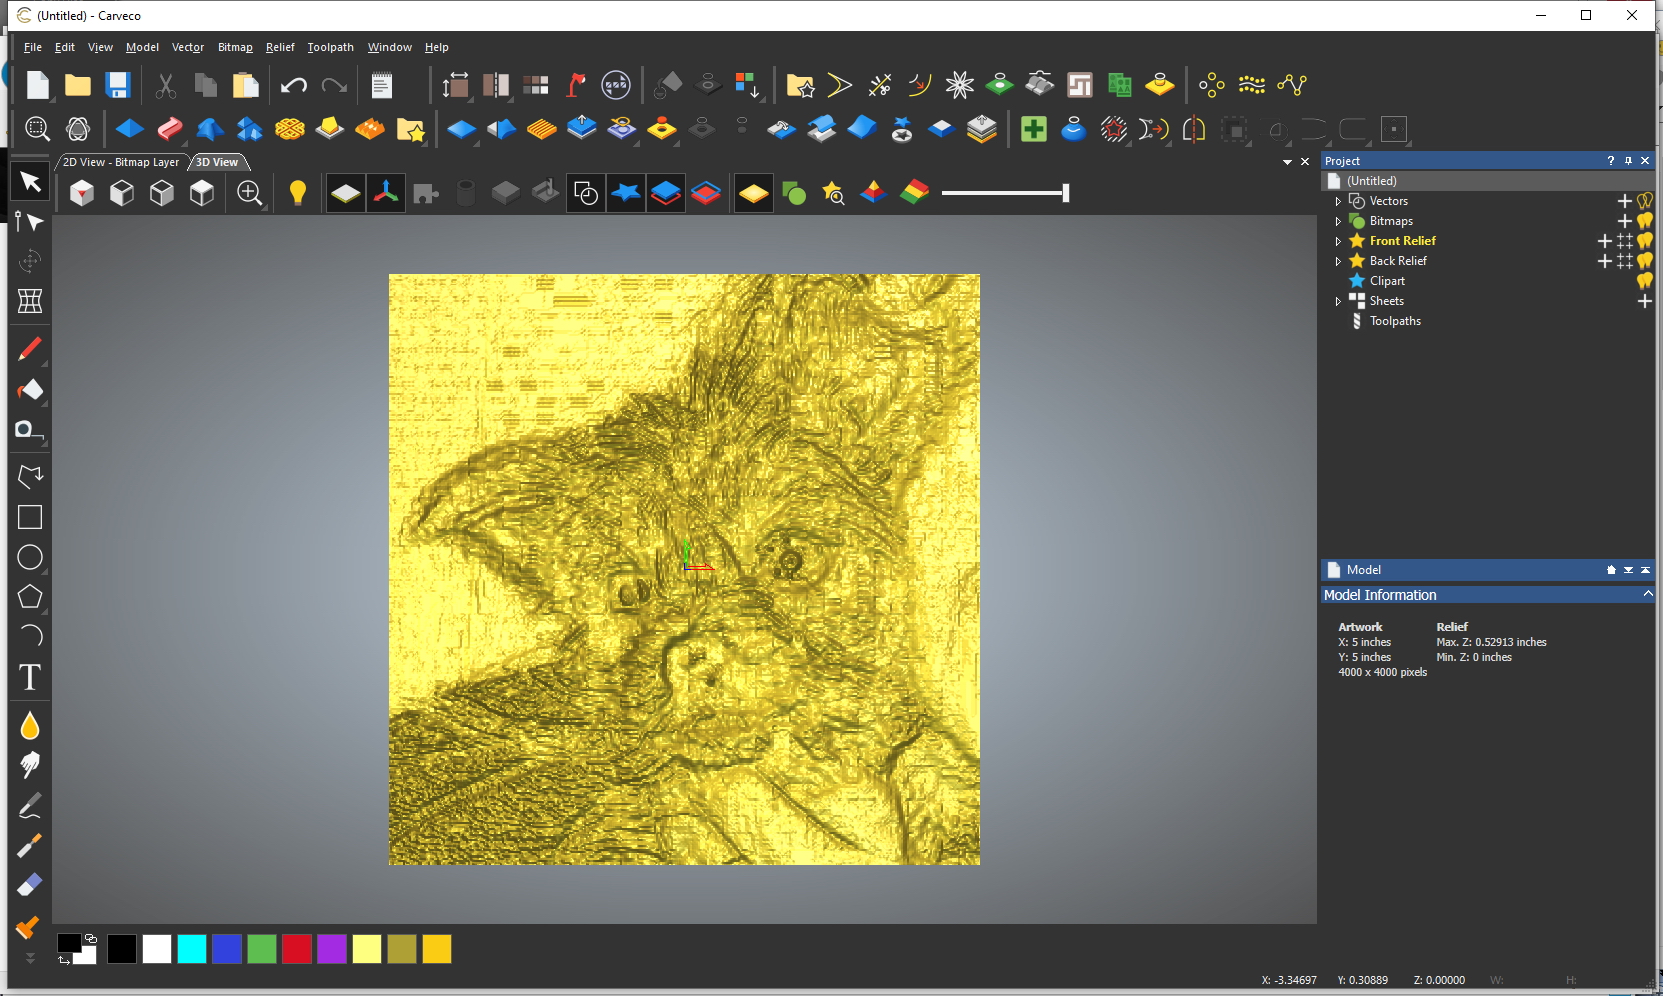
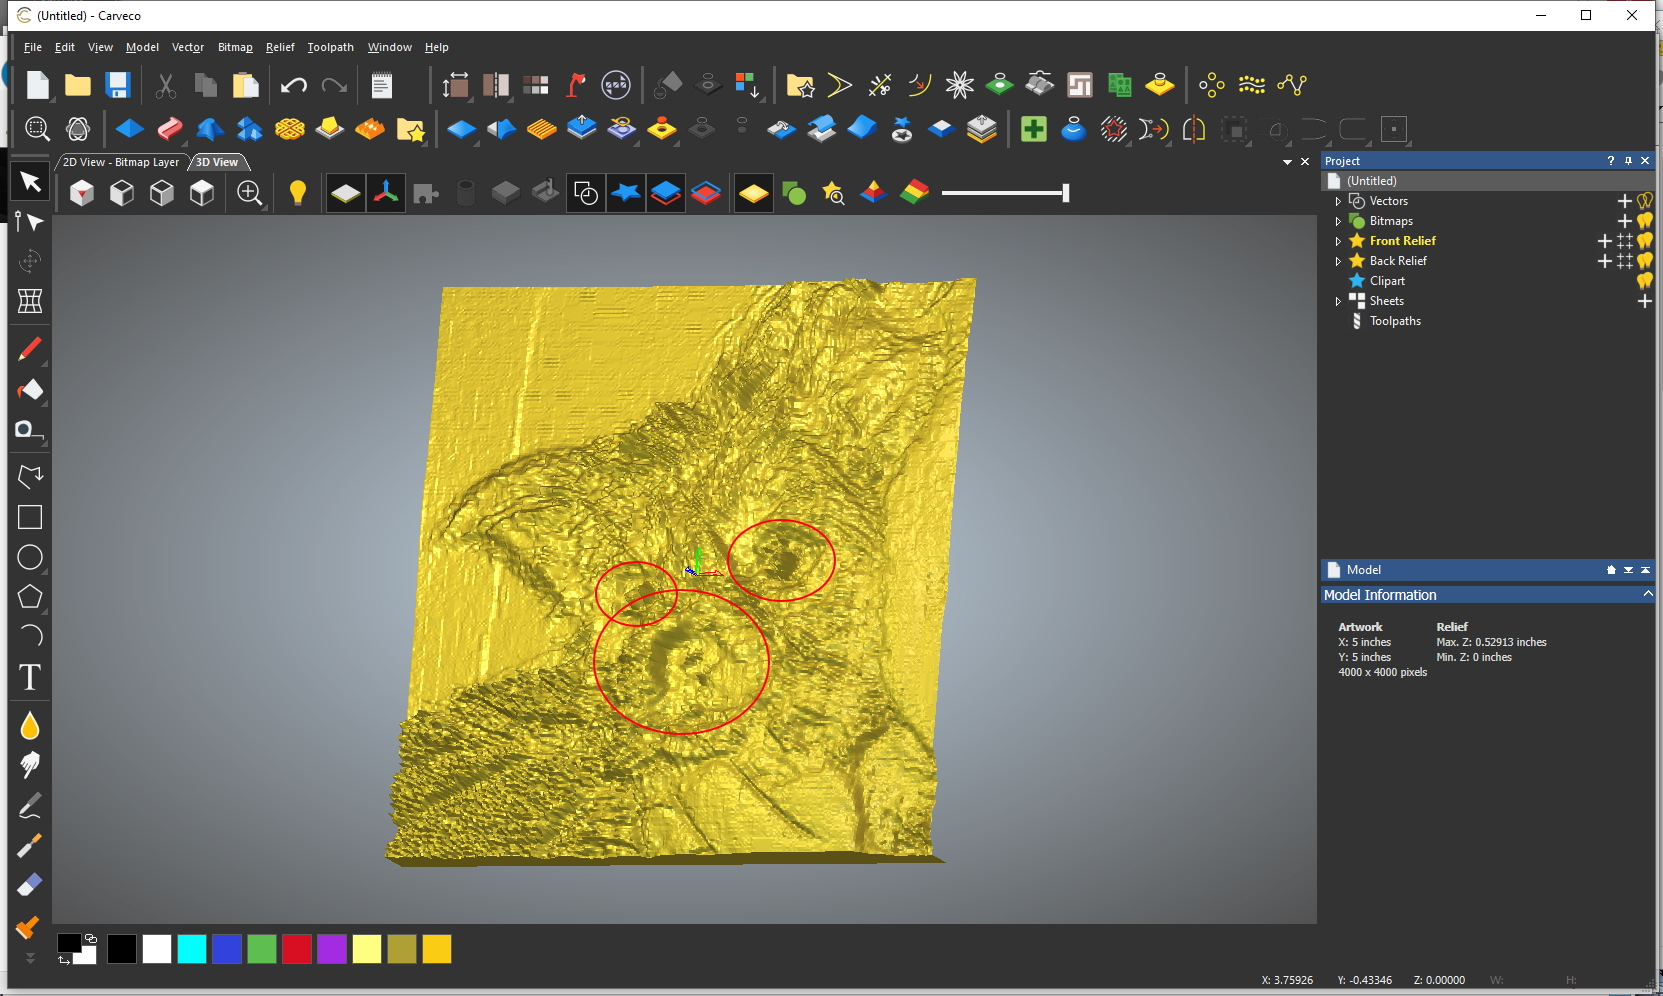
What I am attempting is to 3D carve a dog for someone at church but the import doesn't look at all correct. It started as an iPhone color photo and I converted it to BW in ACDSee. It imports just fine into Carveco (followed Roger Webb's Mona Lisa example) but when I look at the import the dog's nose and eyes are sunken rather than being proud or as they should be (screenshots below).
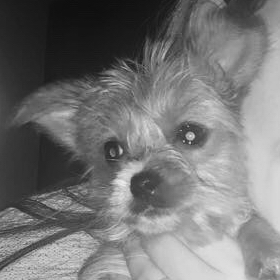
I have attached the BW photo in the event someone more knowledgeable than me - not hard to find - can give this a shot and tell me what I need to do for it to be correct.
Thanks in advance!
David
Comments
David,
Welcome to the world of modeling, now you are on a road that is both fun and perplexing at times, you will need to learn a lot more than just importing a photo. When you import a photo you have to use it for a (lack of a better word) blueprint, then you will have to use the layers both in the 3d and in the vectors just so you can build your model.here's a link that was done a long time ago very well done it should help guide you in your efforts https://www.youtube.com/watch?v=i74WCwKUhJ0
a few years ago there was some one who did a (I think) a dogs face using the face wizard that's worth a shot but if you haven't use carveco this might be too much for you, it is worth a shot if you feel adventurous.
When I first got Artcam I suck to doing 2d and v-groves for about 6 months then slowly went to the 3d aspect of it. Whatever you do don't give up on it there is too much you can do with this software.
mike
Hi David, the reason the nose and eyes are low is because when you use Carveco pure black is at the zero plane (zero plane means no depth to the model), and pure white is the models maximum height. All points in between are some shade of gray. So, since the eyes and nose are black they will be at the models lowest point. To get an idea of what I am talking about open one of the free models provided with the software, go to Relief, Export, click on Save As File, and click on the down arrow beside Type. Now save the file as either a jpg or preferably a tif file. This provides the model as what is called a height map. If you have access to PhotoShop open the tif file and you will see the range of pure black to pure white pixels that make up the model/height map. Here each shade of gray designates a specific height on the model. If you do not have PhotoShop then any graphics program will do but you may have to open the jpg file (tif files are better quality). Once you grasp this concept you will understand why importing a photograph into just about any CAD program leads to considerably less that satisfactory results.
Here is a video that I made using Carvecos predecessor ArtCAM, parts of it will , I think, help you understand what I am talking about, everything that applies to this video will also apply to Carveco. The video can be found at http://www.youtube.com/watch?v=HKWUQ86GF1Y&feature=plcp
I hope this helps
Please sign in to leave a comment.